Experimenting with a live WordPress site is not reliable as the users on the site may face errors if you have done any. But do you know that for practicing or experimenting purposes you can install WordPress locally on your computer? And that WordPress will work as normally as the web one. In this post, you will get to know all about how you can install and use WordPress locally on your computer system running Windows.
The locally installed WordPress is exactly similar to that of the web one. The only difference is that the site that you will create using it will not be available on the internet, instead will be hosted on your local computer server. Though you can use any plugin, SEO tools, themes, and other tools in it.
Table of Contents
What Will You Need to Run WordPress Locally
To run WordPress locally on your computer, you will need to install WordPress. WordPress can be installed locally by using the Bitnami WordPress setup. You can download the setup from here.
To download Bitnami WordPress
Go to the official site from here. Now download the WordPress by Bitnami setup file according to your OS. Here we’ll be using Windows one.

After Downloading the setup, install the setup. The installation is simple for more, follow the below installation guide.
Bitnami WordPress Installation
After downloading the setup (guide above) it’s time to install. Below is the step-by-step guide of Bitnami WordPress installation.
Open the Bitnami WordPress setup by double click and grant the administrator permission. A popup like below will appear to select your preferred language.

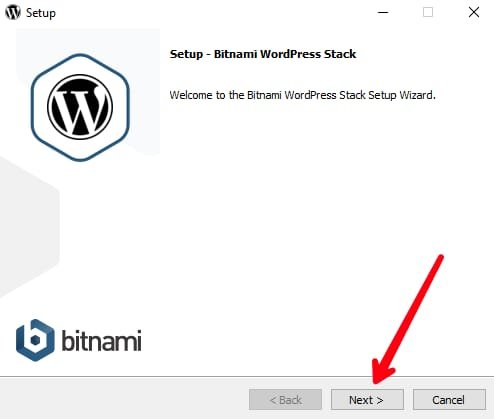
Now click next to begin the installation.
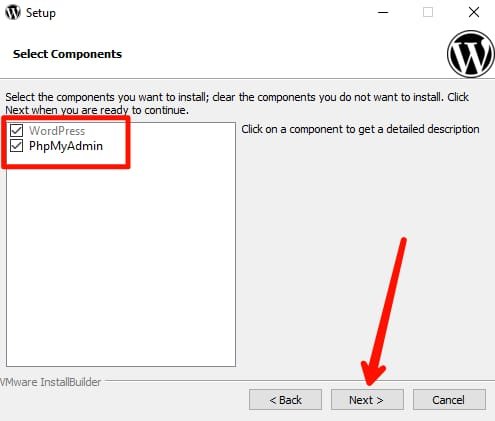
Now select the tools that you will need, select WordPress and PgpMyAdmin and click next.
Now select the installation folder for WordPress. The installer will choose a default location for installation don’t change it if you don’t want to. Click next.

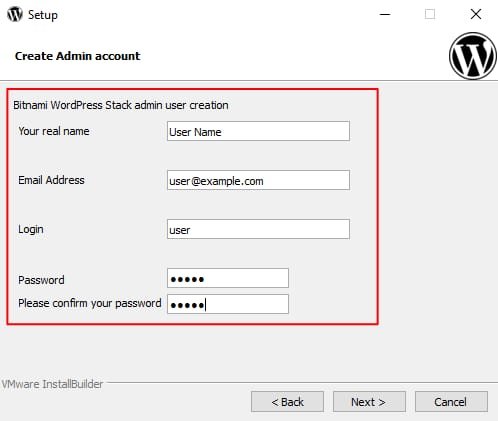
Now a page like below will appear, fill in the information it asks for and set the password. This username and password will be needed to log in and access the WordPress dashboard.
Now the installer begin unpacking the Bitnami WordPress stack and other files, wait for it to complete.

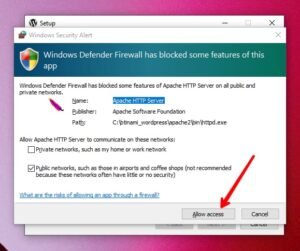
It might ask you to allow the Windows Defender permission to access some features allow it.
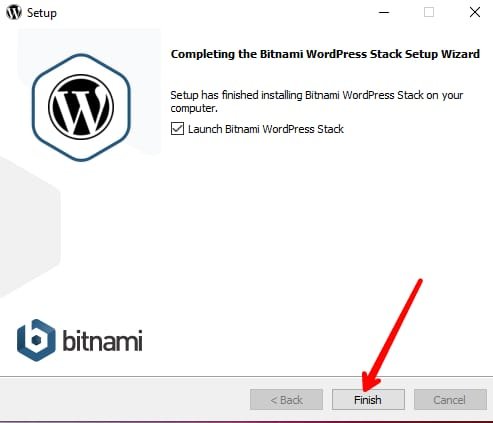
After the installation completes. Click finish. It will automatically open the Bitnami WordPress Access page on your default browser.
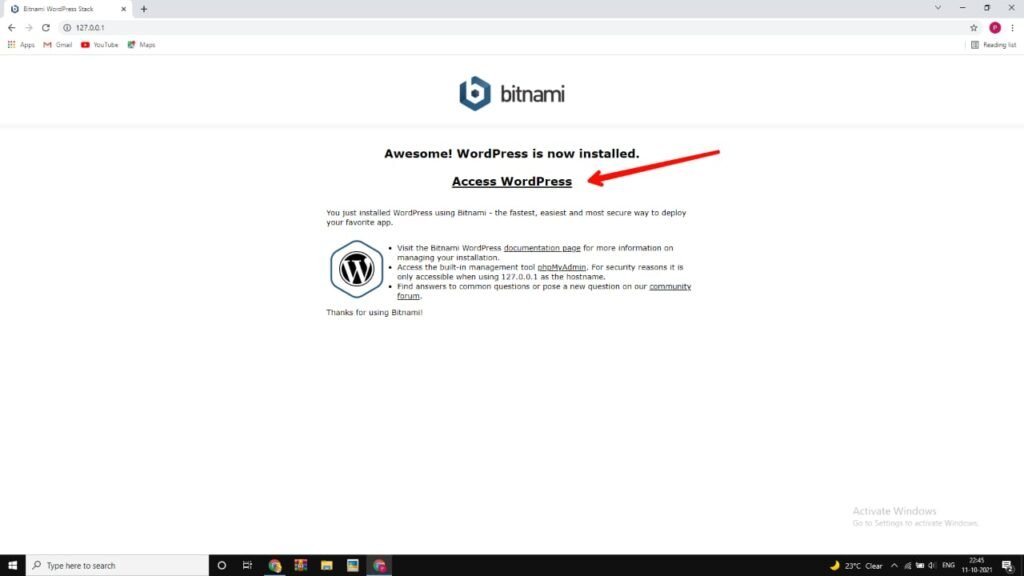
The page will look similar to the below one. Click on Access WordPress. This will open your WordPress site with basic info like site title and default theme.
WordPress site preview :
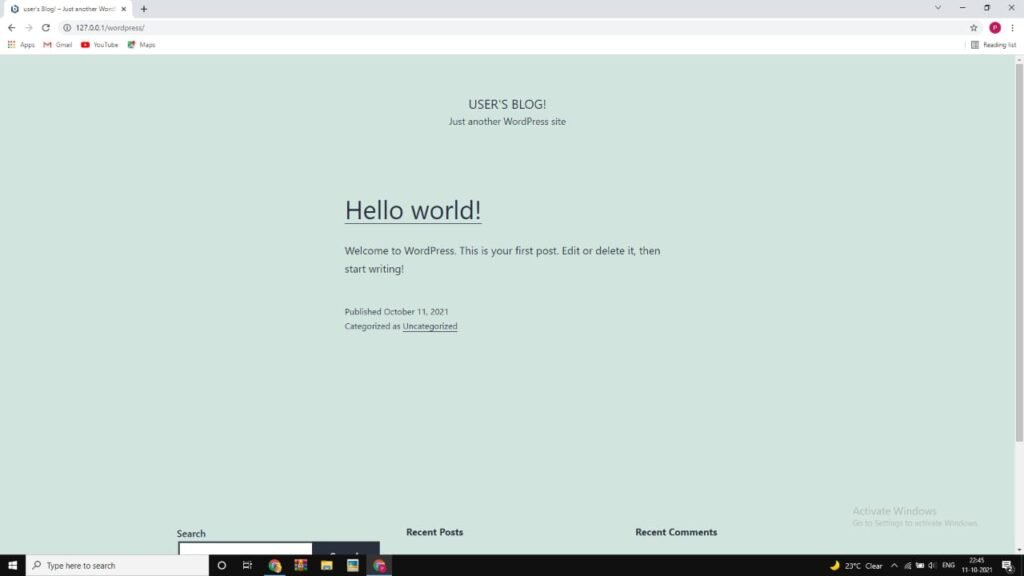
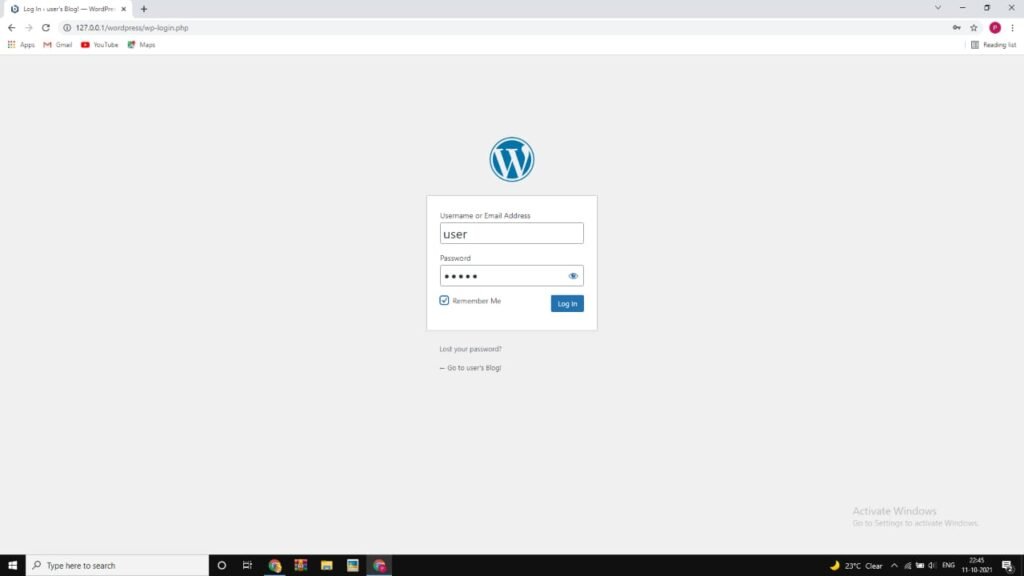
Note the url to access your site. You can type login or Wp-admin to access the WordPress dashboard in order to customize it and make some posts.

Login with the credentials that you have set at the beginning of the installation.
The WordPress dashboard will look like the below image. From here you can access all pages, posts, themes, appearance, plugins and everything that WordPress offers to its users.

This way you can install and use WordPress on your local computer.
How to open WordPress on localhost later
To open and use WordPress later on your computer open the browser and type Bitnami WordPress it will automatically show you the site URL in suggestions open it to use. Or you can also access it by Windows software by searching on Windows for Bitnami WordPress stack manager open it and click on go-to the application. This will open the WordPress page on your browser.


